|
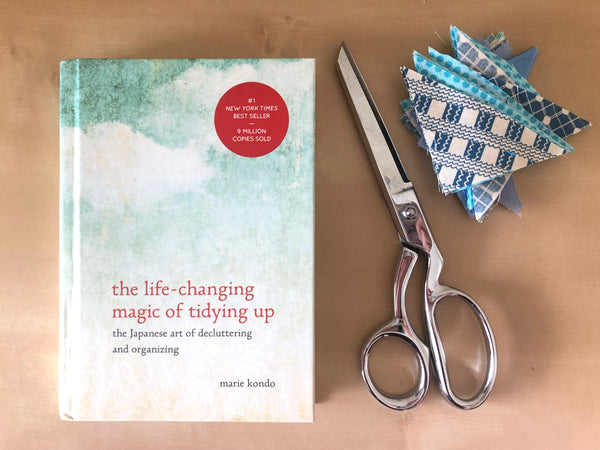
Have you read The Life Changing Magic of Tidying Up? Are you part of the converted or a skeptical bystander? As a recovering hoarder who has been truly changed by the KonMari method, I’m going to share with you how I purged and organized my stash to help keep my sanity in my small apartment. The specific tips and ideas may not fit for everyone, but my fabric stash has been my biggest mountain to climb when trying to simplify my life and my possessions. When we moved to San Francisco, half of our moving boxes were full of fabric! TRUE STORY. Granted, we took very little furniture and sold almost everything we could before we moved, but I was so overwhelmed at the thought of purging my stash that I took EVERYTHING. While our current apartment isn’t the smallest place I’ve ever lived, it’s the smallest space we’ve lived since I started sewing and I knew I had to figure out a new solution. This is it and I hope it helps someone out there who struggled to organize like I did. I have no affiliation with KonMari Media. I’m just a huge fan of Marie Kondo and wanted to share my perspective and ideas inspired by the method. When I first read The Life Changing Magic of Tidying Up in October of 2017, I was skeptical. While I like to think of myself as a collector, the truth is I’ve had some borderline unhealthy hoarding habits since childhood. I would save all of my movie stubs, glass bottles of drinks I thought had cool designs, or notes I had passed in class. I assigned an artificial sense of sentimentality to each item. My childhood bedroom was usually a disaster because I loved stuff. I loved MY stuff. Like many people, moving forced me to start evaluating a little closer. I moved as a kid, but moving in adulthood when I had to weigh increasing the time and money to move an excess of stuff is what drove me to really start evaluating my possessions. I watched The Minimalists documentary, participated in the 333 Challenge from Be More With Less, and, finally, picked up a copy of Marie Kondo’s book. While there was so much in the book that immediately resonated with me, there were a few things I ignored. I mean, this woman wanted me to talk to my socks? No thanks. If you’ve watched the Netflix series, you can see other people struggle with the same issues as I’m sure thousands of others have. Eventually, I decided that I wouldn’t be looking for help if I thought I had it all figured out, so, I set aside my skepticism and gave into the entire process. I’m glad I allowed myself that flexibility and, let’s be honest, vulnerability because I am now a believer! I don’t plan to go fully in detail here about what the KonMari Method is, but the most important thing I want to convey is that the KonMari Method is not about getting rid of things! The KonMari method is about being excited about what you choose to keep and moving forward in your life with excitement about what you bring into it. Breaking It Down So how do we begin to KonMari our art or craft supplies? Like many tools and materials, they don’t all spark joy. A solid orange quilting cotton is a valuable basic to keep in your stash, but it may not be as exciting as the limited edition print from your favorite designer. Both have their value and the plain cotton is arguably more useful. What about needles? Buttons? Bias tape? Velcro? Fusible interfacing? All the bits and pieces that maybe aren’t used in every product, but maybe you’ll need them eventually?! Just getting started can be the hardest part. The KonMari Method breaks everything down into categories so I followed that pattern when it came to stash. I considered my supplies a subcategory of the “kimono” category and saved it for the very last category before sentimental items. The first step in my process was separating out my categories based on type of craft. For me, those categories include sewing, ceramic, and general craft supplies. For the sake of this post, I’m going to focus on my sewing supplies, but I’m open to questions about how I handled the other categories if anyone wants to message or e-mail me. Start With Your WIP Pile Within the sewing category, start with your works in progress (WIPs) or unfinished objects (UFOs). I like to start here because later when you go through your materials, you’ll know exactly what you need to keep for WIPs and won’t make as many excuses about materials for WIPs that will never happen. First things first, ask yourself if each unfinished project sparks joy. Most people are pretty good at starting things they don’t finish and sewers are some of the worst offenders. I have certainly started more garments then I’ve ever actually worn and right at this very moment there is a stack of zipper bags waiting to be made on my desk that has been there waiting to be assembled for… a long time. But time passes and our ideas, styles, and priorities change. Pick up each WIP and ask yourself if you are truly excited about finishing it. Give yourself permission to decide that it’s not worth finishing. Once, I finished a dress simply because it sat in my WIP pile for 4 years. I took the time to finish it because it had been 4 dang years and I was gonna get that thing done! Well, I finished it, realized I didn’t actually want to wear it, and immediately gave it to Goodwill. It was a dress I had started when I first started to make my own clothing and the pattern and fabric I had selected were pretty basic to meet my skill level when I started the project. Four years later I just didn’t want it anymore. I wasted an afternoon finishing it only to give it away to a thrift store because I just felt obligated to get it done. Why?! Giving yourself permission to give up on the unfinished projects that are no longer sparking joy will give you a chance to be more productive with the projects you are truly thrilled to finish and show off. Here’s the hard part. Once you decide on the WIPs to keep, DO NOT START ANYTHING NEW UNTIL YOU FINISH THAT WIP PILE. This is the advice I need to take myself the most! And I know so often it’s not about passion for the project, it’s about due dates. “I need to pause on this quilt for my nephew who is one year old and won’t know the difference if I give it to him after his birthday. Right now it’s more important to get more headbands done for my Etsy shop!” Next thing you know that quilt has been hanging out for months, but that doesn’t been it’s not important. I totally get it, but I also know that I work with more clarity when that WIP pile is slashed and I only need to focus on the one thing in front of me. Joy Check Your Stash So this is the pretty standard part of the KonMari process. For me this looked like pulling out all my fabric and going through it piece at a time. For fabric, the question of sparking joy can be a strange one because we all have beautiful designer fabrics as well as solid or simple fabrics that each serve a purpose. I looked at each item and asked myself if it would fit into one of three categories:
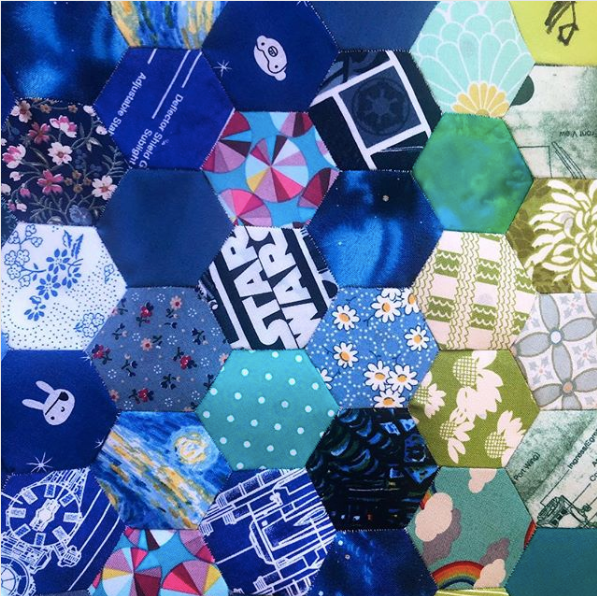
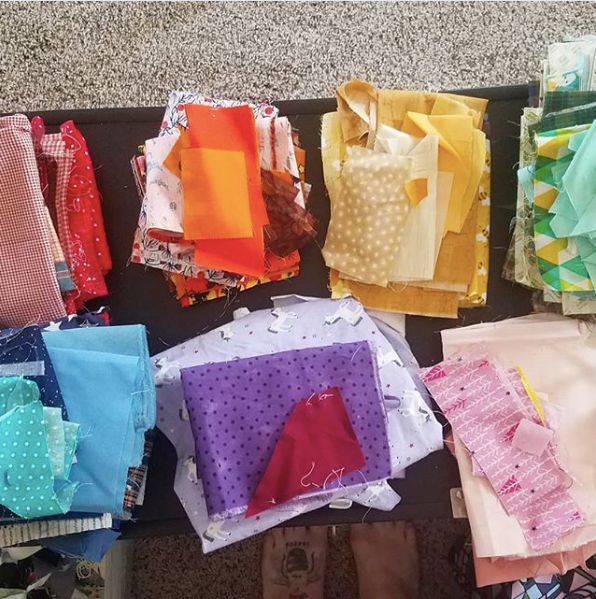
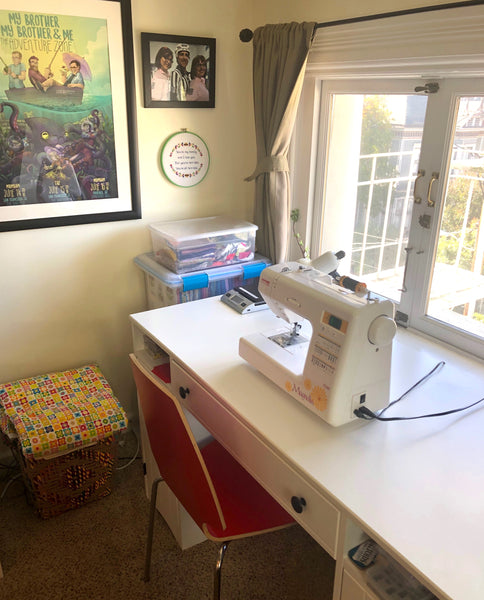
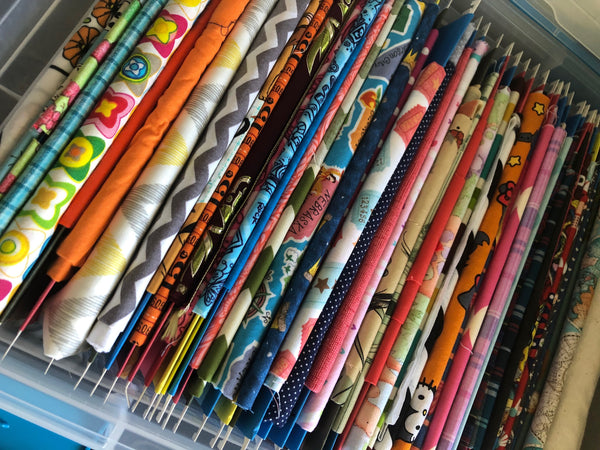
Large pieces of fabric like full yardage or even fat quarters might be easy to sort through, but your scrap bin(s) might be more tedious. It’s up to you how you handle this. Perhaps you may joy check an entire bin of scraps or odd cuts in one go. Personally, I went through my scrap bin and looked at each piece. Yes it was tedious, but I love my scraps and I wanted to give that pile some attention. When I was done, my scraps were sorted by color and all the bits I didn’t want had been moved to my discard pile (more on that later). I went through the same process with my notions. Notions are a little trickier as you may find most of them to be highly useful, but I definitely had some problem areas. For example, I had so much pre bought bias tape. Several of my first sewing projects involved bias tape and I purchased a lot in advance at the craft store to build up my stash. I thought it was going to be an essential treasure to keep well stocked as part of my sewing supplies, but many years later I don’t think I’ve used store bought bias tape in quite a while. Now I know how to make a little as I need it and I don’t need all that prepackaged bias tape anymore. Sort By Size Once I decided which fabric was still sparking joy, there’s of course the question of organization. However, the KonMari Method advises not to organize until the very end and I still didn’t know exactly how I needed to organize. Even if you have scaled down to only fabric and notions you love, that can still include an overwhelming amount of things. I thought the best way to go about it was to first sort fabric into the sizes I normally used. This will look wildly different for everyone, but my most frequently used size categories are full yardage (more than one yard), a quarter (including fat quarters) up to one yard, 5.5 inch squares, 1 inch hexies, and a scrap bin for everything else. For notions or additional materials, I organized by type. These piles look more like rulers, spools of thread, loose bobbins, boxes of straight pins, fasteners, etc. Seeing how much of each category you have will help you make better decisions in the storage process. Evaluate Your Space This is the part that I made a very personal decision that not everyone is going to agree with — I decided only to keep what could reasonably fit in my sewing area. If you notice from my photo, my sewing area is not very big. It’s about boundaries, y’all. And I needed to create some boundaries. My dining room table is already my work area and creating this boundary to feel some sense of control back over my home was important. Let me just say, half the time my sewing area is not nearly as neat and tidy as this photo. Like all things, the chaos ebbs and flows depending on current projects. On some rare occasion we actually want to use the dining room table as a dining table and those days I need to know I can pack it easily away if needed. When we lived in Texas, we had a pretty sizable walk in closet in our bedroom and I didn’t need that much space for clothing. Part of the reason that my stash grew so large was because I had the space to let it grow thanks to the excess closet space. Even now I could find ways to keep more supplies by squirreling away fabric in other storage areas, but I wanted my house to feel like a home and not a storage facility. This might mean it’s time to make some hard decisions and get rid of a few things. If you notice, so far it hasn’t been about getting rid of things and has purely just been about making sure you still love what you have. The discarding part has been secondary. Deciding to contain the space I would allow myself to keep things brings discarding front and center. This is the part that may not be entirely KonMari aligned, but it worked for me. Look at your piles from the previous step and ask yourself where your problem areas are. I’ve already mentioned a few, but my problem area for fabric was definitely was kid’s fabric. At one point I had purchased quite a bit and used various fabrics picturing animals or cartoon characters for quilts I made for nieces and nephews and whoever. At this point I think I’ve made a quilt for just about every baby that has been born in the last 5 years and I really don’t need the leftover yardage anymore. They’re adorable and I’m sure if I tried really hard I could find an excuse to make something with them, but they’ve served their purpose and it was time to thank them and move on. One of the other reasons to evaluate your space first is that it will dictate what kind of storage solutions you might need. Look at the space you have and envision how you want it to function. Maybe do a sketch or brainstorm with your spouse, but do not get on the internet to look at ideas until after! Just like the KonMari Method asks you to visualize what you want for your life before you start the process, focus on your space and visualize how you would like it to look before you go down the rabbit whole of exploring storage solutions. Pinterest is a great resource, but it can be overwhelming and create unrealistic expectations. For example, one of the things I used to want was a row of large glass jars to keep scrap fabric in. Each jar would be a different color of the rainbow and would be spread out along a shelf to look almost like a candy store display. I still love that idea, but who has the space for that? If you do, please steal that idea and live out my fantasy. The point is, always refer back to your space and the visualization you did for what is going to work in that space. Gathering ideas, making a Pinterest board or an old fashioned vision board, or even browsing Ikea or the Container Store may ignite a fresh idea for you. Explore new ideas freely, but always check back in with what will work with the space that you have. Putting It Back Together and Storage Once I had whittled down to only what would fit in the space and I knew how I wanted my space to look, I actually realized that I didn’t need or want to buy any other plastic containers or miscellaneous bins. The problem I had was that I kept accumulating storage solutions to try to control the amount of fabric I was trying to hide when really it was the fabric that needed to go. I really love my hanging file folder set up that I was already utilizing for any piece of fabric 1/4 yard or larger (pictured above), but after the KonMari method I actually decided to get rid of one container so it was less obtrusive over my desk area. I also used one plastic container for 5.5 inch precut squares and and one container for 1 inch hexies. Additionally, I have a large bin that I use for miscellaneous scraps. Sure things pile up and overflow here and there, but I try to only keep what fits in those containers. After this was all said and done, I did get a new desk and I freaking love it! Prior to the desk you see pictured, my sewing area was merely a small wooden table with no storage, drawers, or cabinets of any kind. I didn’t need plastic bins or cups or trays or any other bandaid solutions that I had purchased before. I just needed a real desk! This purchase came after a lot of time and consideration to what I truly wanted in that space. The desk also has adjustable shelves which I love because I have everything from flat patterns to a big roll of craft paper that I keep tucked away in there. The desk has a drawer that contains most of my notions and a side cabinet that holds other miscellaneous craft supplies that are not related to sewing.
I also shopped with my husband. He doesn’t sew and he doesn’t use the desk, but it was important that we both liked the way it would look in our shared space. I think if I had tried to get a new desk with storage as a bandaid solution to my stash problem, I would’ve purchased something totally different and it may have just exacerbated the problem. To be honest, I have two other places in my home where fabric storage is kept. One is the bin of t-shirts waiting to be made into a t-shirt quilt that lives in a closet and the other is an under the bed container that holds quilts and quilt blocks that I inherited from a friend. They were made by another quilter and I cherish them dearly. I’ve made some quilts with them already including many of the pieces I used in my Americana quilt and the rest I’m saving for now. How To Discard Assuming you’ve finished tidying, you’ve thanked your belongings, and you’re ready to get them out of your newly organized space… NOW WHAT? I have never thrown away a single scrap of fabric or notion. Sure some trimmings sometimes fall to the carpet and get scooped up by the vacuum cleaner, but I have never intentionally thrown away any sewing materials. I once took a sewing class from a fashion designer who said she doesn’t keep any scraps because it wasn’t worth her time and I was mortified! There are many options for you to discard your stash in an environmentally friendly way.
Like I mentioned earlier, the KonMari Method is about how you live your life going forward and less about getting rid of things. Once you have joy checked, purged, and organized tour supplies, what you do going forward is what counts. I already mentioned not starting anymore projects until you finished your WIPs, but curbing that impulse fabric buying habit is important too. During the first few years of my sewing, my fabric stash grew and grew exponentially faster than the actual items I was making. You know how the story goes: you head down the aisle at the fabric store and something super adorable pops out at you. You don’t really need it for anything, but you love it and you have a coupon and surely you’ll think of something! Eventually! Or maybe you do think of something you can make with it, but it wasn’t why you came to the store and you already have a WIP pile or a to-do list eight miles long. Put. Down. The. Bolt. Whenever possible, focus on one project at a time and only purchase for one project at a time. Don’t Be Afraid To Use Your Stash! As a final note, don’t be afraid to use your stash! Sometimes fabric designs can be so beautiful or seem so special that we never want to cut into them. I definitely felt this way about the Heather Ross Mendocino Collection. I used it for gift for a friend 2 years after I bought it, but I spent a long time being afraid to cut into it. Now that it’s nearly all used up and no longer in my stash, I’m still here! Nothing terrible happened. In fact, the opposite of terrible happened because I got to make a quilt I love for a very special kid with that fabric. Don’t be afraid to use your stash. That’s what it’s made for. I’ve also made several projects over the last few years that have not involved purchasing one single thing. Sometimes the quilts involve buying some batting or I need to find a button that better matches an existing jacket, but it’s nearly embarrassing how many things I’ve made without a purchase. I challenge you to make as many things out of your existing supplies as possible without buying anything new. I bet a lot of people have even more possibilities than I do! Whoa! When I set out to write this, I never intended to write for so long. If you stuck all the way through, bless you. If you’re still here reading this then I hope even a piece of this was helpful in some way. I’m working on being more organized and intentional in my craft and with my supplies each day. I’m eager to know if anyone else out there has any suggestions!
0 Comments
Leave a Reply. |
Hi! I'm Emily.I’m a maker and educator living in Austin, TX. I’m also the gal behind The Morose Bee. Archives
March 2024
CategoriesThis website uses marketing and tracking technologies. Opting out of this will opt you out of all cookies, except for those needed to run the website. Note that some products may not work as well without tracking cookies. Opt Out of Cookies |


 RSS Feed